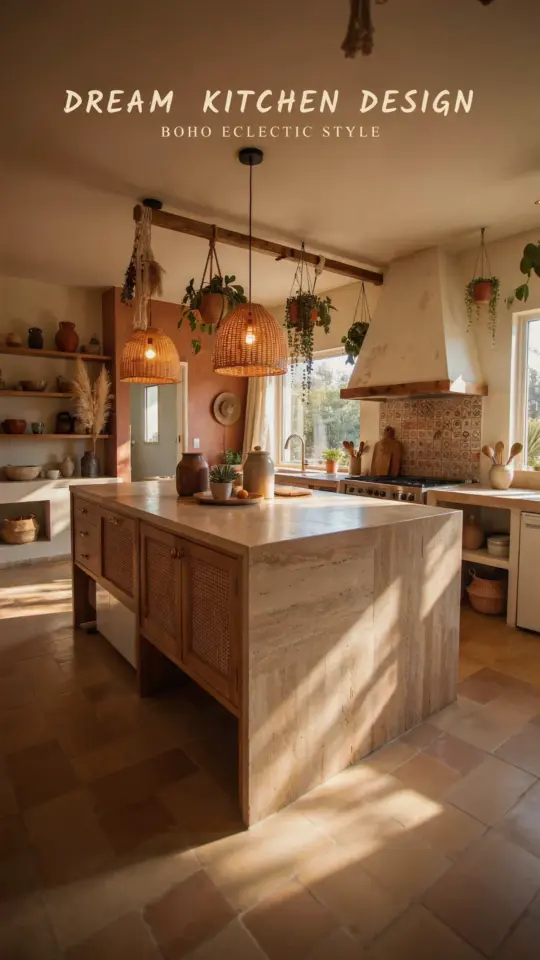
When I first designed my kitchen island, I knew I wanted a clean, minimalist look. But I also knew I needed power for my mixer, blender, and phone charging. That’s when I discovered hidden outlets as the perfect solution. These pop-up power stations let me have all the plugs I need without ruining the sleek surface of my countertop. I spent months researching options and testing different setups, and I want to share what actually worked in my own home.
Why I chose pop up outlets for my kitchen island
My old kitchen had outlets stuck in the side of the island. They collected dust, crumbs, and looked terrible. Every time I used the blender, the cord stretched across the counter and got in the way. I finally ditched that setup and installed pop-up outlets instead.
These units sit flush with the surface when not in use. You press them down, and they disappear into the counter. I chose a model with a brushed aluminum finish that matches my faucet. The whole thing takes up about three inches of space when closed. No one even notices it is there.
What I love most is the flexibility. I can plug in my stand mixer on one side and charge my tablet on the other, all without cords trailing across the counter. It just works.
How hidden outlets blend with quartz and wood surfaces
Matching the outlet to your countertop material matters more than most people think. I have a light gray quartz countertop with subtle veining. A standard black or white outlet would stick out like a sore thumb.
I tested three different pop-up models before settling on one. The first had a silver plastic cover that looked cheap. The second was matte black, which clashed with everything. The third had a removable top plate that I could order in a color close to quartz. That was the winner.
For wood surfaces, many brands offer walnut, oak, or teak cover options. A friend recently installed a pop-up outlet into her butcher block island. She chose a model with a solid wood top that matches the grain direction. It looks like a custom wood inlay, not an outlet. If you go this route, order a material sample first. Colors and grain patterns vary a lot between batches.
USB and standard plug placement that actually works
Not all pop-up outlets are created equal. I learned this the hard way. My first unit had two USB-A ports and two standard outlets. It was fine for phones, but my tablet took forever to charge. I swapped it for a model with one USB-C fast-charge port and two standard outlets. That made a huge difference.
- USB-C fast charge: Charges my phone and tablet in under an hour. Look for models that support at least 20 watts.
- Two standard outlets: One for a small appliance, one for a laptop or extra device. Three prongs are a must for larger plugs.
- Child safety covers: Some units include sliding shutters over the outlets. If you have little ones, this is worth the extra few dollars.
- Color coded lights: A small LED on the side shows when power is on. This sounds minor, but it helps you remember to unplug devices when you leave the room.
I placed my pop-up outlet about six inches from the back edge of the island. That keeps cords away from the main prep zone. For a larger island, consider two pop-up units. One near each end gives you more flexibility without crowding the surface.
What to consider before installing pop up power stations
Installation is not terribly hard, but there are a few gotchas. I hired an electrician for the wiring part because I am not comfortable messing with mains power. He charged about 200 dollars to run a new circuit from the panel to the island. That included cutting the hole in the countertop with a hole saw.
The depth of the pop-up unit matters a lot. Some models need at least four inches of clearance below the counter. Check your island structure before buying. My island has a shallow drawer directly under the counter, so I had to choose a compact unit that fit in that space. I ended up removing one small drawer to make room, which was fine because I did not use it much anyway.
Also think about moisture. Pop-up outlets near a sink or prep area see water splashes. Look for a unit with an IP rating of at least IP44. That means it is splash-proof. Avoid models with exposed metal contacts on the top surface. Some budget units have them, and they can corrode over time.
My favorite smart outlet placement ideas
I have tested several placement strategies in my own kitchen and in friends’ homes. Here are the ones that worked best for real daily use.
Put one pop-up outlet near the seating side of the island. This gives you a spot to plug in laptops or phones while you work or eat. I keep
#hiddenoutlets #kitchenislanddesign #sleekkitchen #popupoutlets #modernkitchen
This post was researched and drafted with AI assistance, then personally reviewed and edited by Mia before publishing.
Leave a Comment