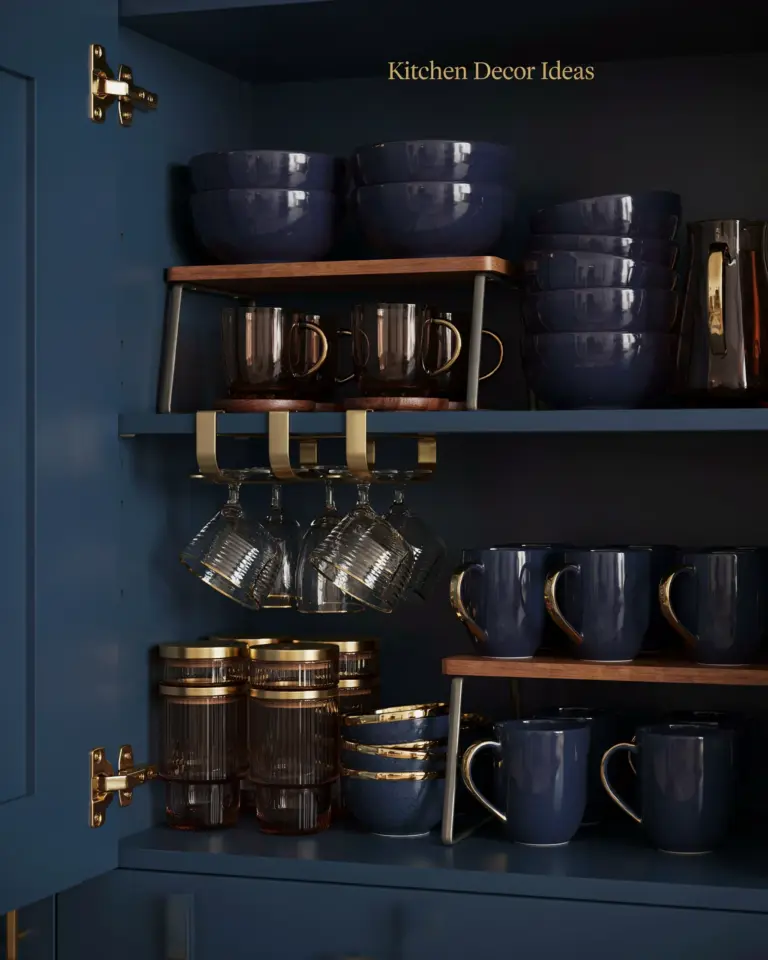
If you have ever opened a kitchen cupboard only to be met with a avalanche of Tupperware or a jumble of spice jars, you already know that cupboard organisation can make or break your morning coffee routine. The way you arrange your kitchen cupboards directly affects how smoothly your day flows, how much food you waste, and how peaceful your home feels. After years of wrestling with cluttered shelves in my own tiny rental kitchen, I have developed a simple, step-by-step system that turns even the most chaotic cabinet into a calm, functional space. These are not Pinterest-perfect ideas that look good for a photo and fall apart the next day. These are real, practical storage solutions that work for real people who actually cook.
Start with a ruthless declutter session
Before you buy a single bin or label maker, you need to face the contents of every cupboard head-on. Pull everything out. Yes, everything. Pile it on your counter or table so you can see what you actually own. This is the step most people skip, and it is exactly why their homeorganisation efforts fail after two weeks.
Sort items into four categories: keep, donate, recycle, and trash. Be honest about that bread machine you used once in 2019 and the mismatched plastic lids. If you haven’t touched something in six months and it is not a seasonal specialty item, let it go. I promise you will not miss it.
Once you have pared down, wipe down every shelf with a damp cloth. You will be amazed at the crumbs and dust that collect in dark corners. A clean start makes the next steps feel rewarding instead of overwhelming.
Group items by function, not by size
Many people organise their kitchencupboards by stacking like with like: all plates together, all bowls together, all mugs in a row. That works for basic dishes, but it falls apart when you try to find a specific spice or a measuring cup mid-recipe. Instead, group everything by how you use it.
Create functional zones. Put breakfast items near the coffee maker, baking supplies near the mixer, and daily cooking oils and spices right next to the stove. Think about your actual cooking habits, not an abstract idea of a neat cabinet. For example, I keep all my tea-related gear in one shallow cupboard above the kettle: bags, honey, a small strainer, and my favourite mug. That one zone saves me three minutes every morning.
- Cooking zone – oils, vinegars, spices, salt, pepper, tongs, spatulas
- Baking zone – flour, sugar, vanilla, measuring cups, mixing bowls
- Breakfast zone – cereal, oatmeal, mugs, tea bags, coffee filters
- Snack zone – crackers, nuts, dried fruit, small containers for lunch packing
- Food storage zone – containers, lids, reusable bags, wraps
Assign one zone per shelf or per section of your cupboard. When everything has a home, you stop rifling through three cabinets to find a single can of beans.
Use vertical space and risers for double the storage
Standard kitchen shelves waste a huge amount of headroom. A stack of bowls rarely reaches the top of the shelf, leaving a gap where nothing useful happens. That is where affordable kitchenstorage tools come in. Shelf risers, tiered spice racks, and small stackable bins turn that dead air into active storage.
For example, install a two-tier riser for cans and jars. Put shorter items on the lower tier and taller items on the upper tier so you can see everything at a glance. I use a simple wire riser for my canned tomatoes and beans, and I tripled my usable shelf capacity without adding a single new shelf.
Also consider the back of the cupboard door. A small over-the-door rack designed for spices or cleaning supplies adds a whole extra layer of storage for things like measuring spoons, pot holders, or small cutting boards. Just make sure the door still closes properly.
Install pull-out shelves or lazy Susans for deep cabinets
Deep, dark cabinets are the enemy of an organisedcupboards system. You know the ones: the corner cabinet where pots and pans go to die, or the bottom shelf where you shove baking dishes and then forget them for a year. The solution is to bring the back to the front.
If you are handy (or willing to watch a ten minute YouTube tutorial), slide-out pull-out shelves are a game changer. They let you roll the entire contents forward so you can see and grab everything without sticking your head inside. I installed two metal pull-out shelves in my lower cabinets for around 30 dollars each, and I no longer buy duplicate cans of tomato paste because I can actually see what I have.
For corner cabinets or round spaces, a lazy Susan is your best friend. Choose one with raised edges so items do not slide off. Use it for oils and vinegars, condiments, or even small jars of dried herbs. Give it a spin and you will never lose a bottle again.
Choose clear, uniform containers and label everything
This might sound like a detail, but it is the single most effective way to keep your homeorganisation efforts lasting longer than a week. When you transfer dry goods into clear, identical containers, two things happen. First, you instantly see how much you have left, so you stop buying extra pasta or flour. Second, your brain relaxes because the visual clutter is gone.
Buy a set of airtight square containers for flour, sugar, rice, pasta, cereal, and snacks. Square ones
#cupboardorganisation #homeorganisation #kitchencupboards #kitchenstorage #organisedcupboards
This post was researched and drafted with AI assistance, then personally reviewed and edited by Mia before publishing.
Leave a Comment